Impressionist Editing Workflow: How to Transform Coastal Photos into Painterly Art
The Oregon coast is already a canvas of shifting light, color, and atmosphere — but with the right workflow, you can transform a photograph into a luminous impressionist artwork. This guide walks through the full impressionist editing workflow used at Bandon Impressions, blending field technique, Lightroom craftsmanship, and digital painterly transformation inspired by Monet and Van Gogh.
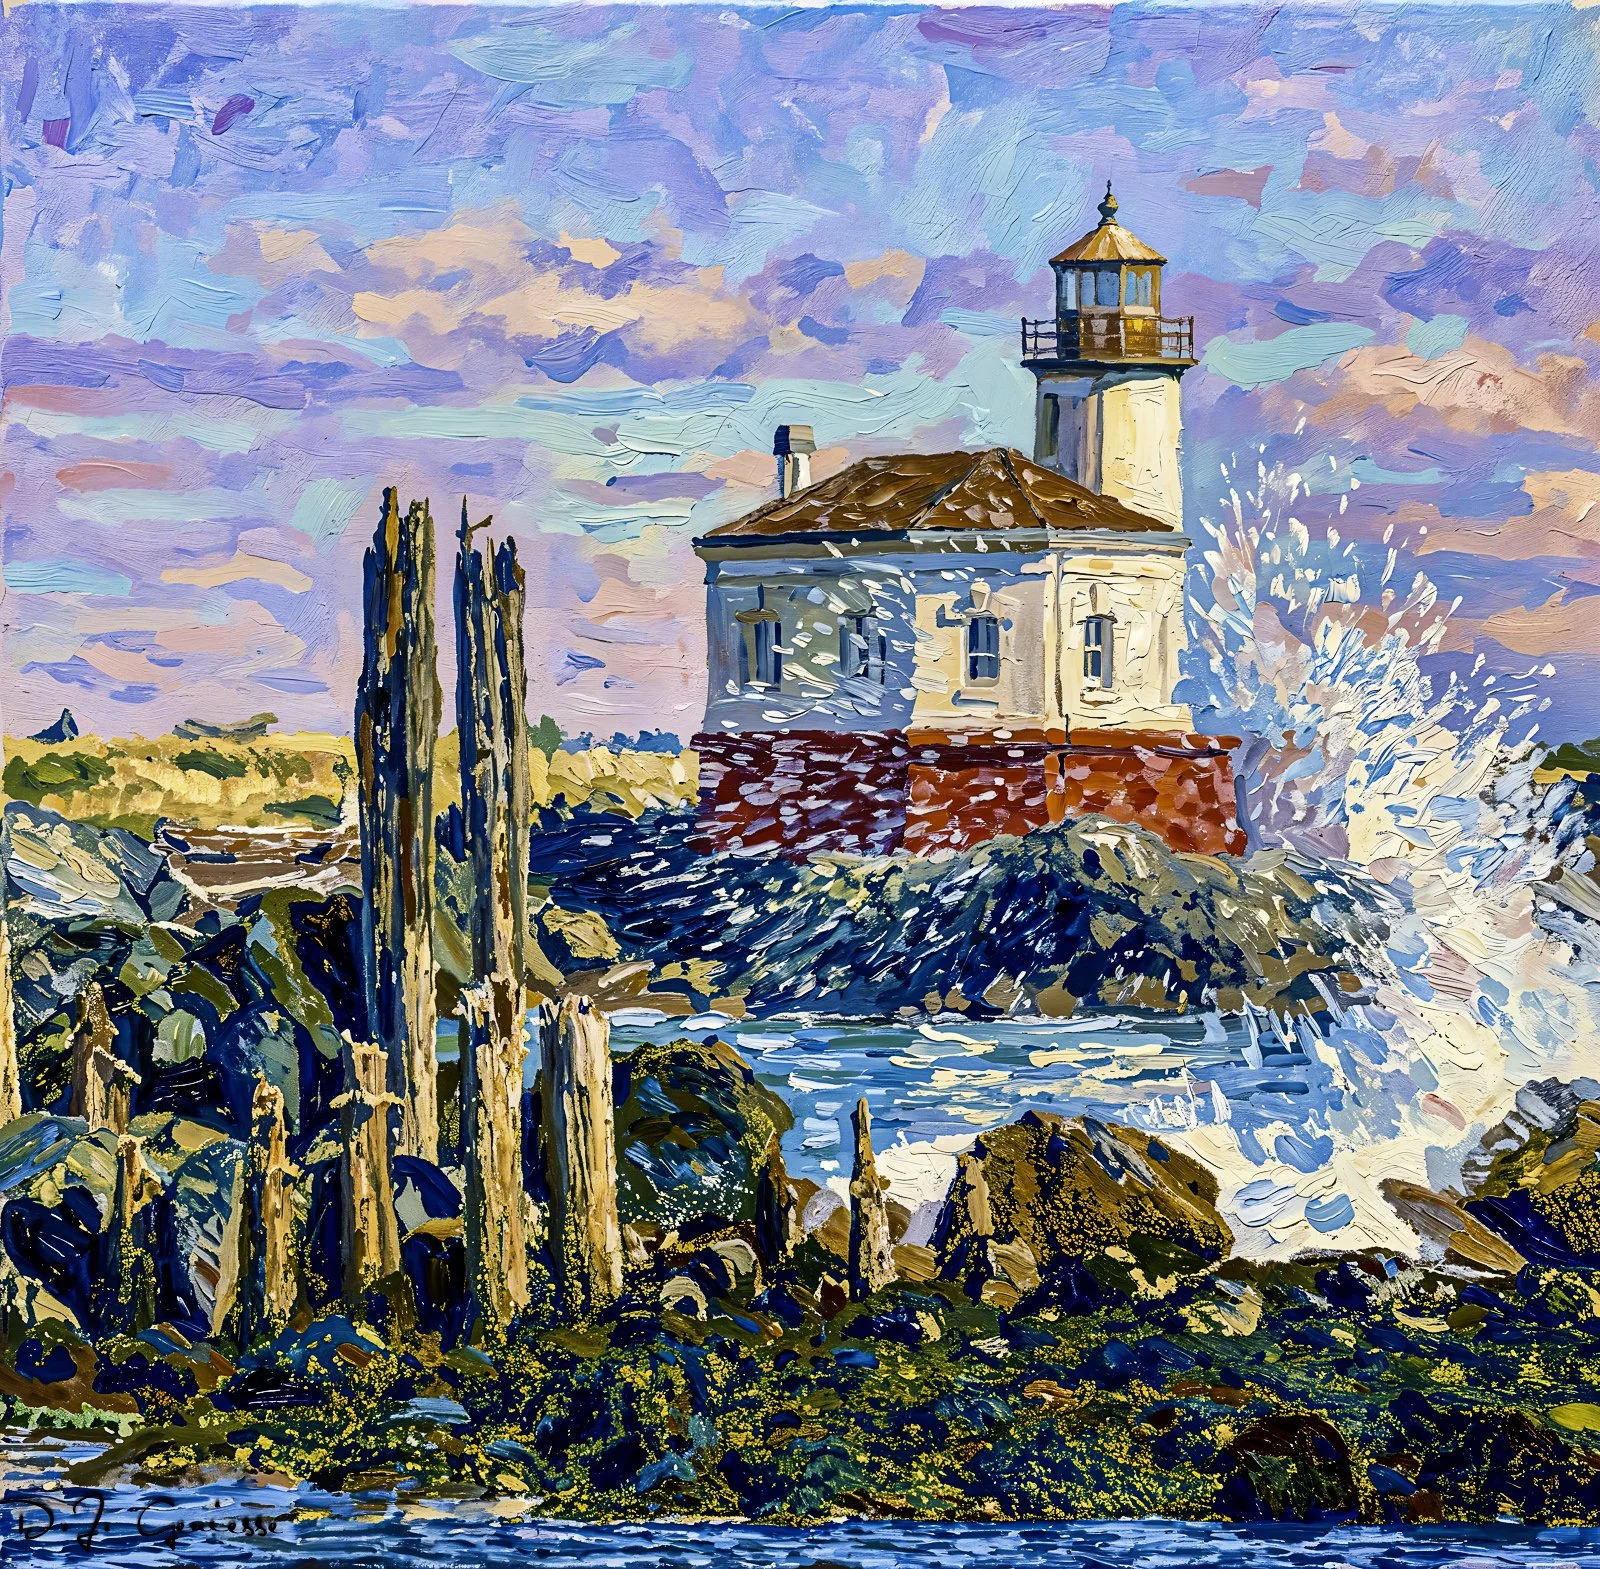
1. Start With the Right Raw Capture
Impressionist editing begins long before you open Lightroom. You need a base image with strong atmosphere and clean structure.
What to look for:
Soft light (fog, pastel sunset, blue hour)
Simple compositions with clear subjects
Reflections or water movement
Color transitions in the sky
Best Bandon locations:
Face Rock (The Proncess (Ewauna), The Cat and Kittens, Howling Dog, Seatka)
Wizard’s Hat
Table Rock
China Creek Beach
Coquille River Lighthouse
Shore Acres
Devil’s Kitchen
China Creek Beach
2. Build the Foundation in Lightroom
Lightroom is where you establish the “truth” of the scene before you begin impressionist transformation.
Core adjustments:
Exposure: Slightly underexpose to preserve highlights
White balance: Warm for Monet, cool for Van Gogh
Contrast: Lower global contrast; raise micro‑contrast
Texture & Clarity: Reduce for softness
Color grading: Push midtones toward your desired palette
Pro tip
Use the Masking tool to soften sky transitions and enhance water reflections without affecting the entire image.
3. Shape the Atmosphere
Impressionist art is about mood, not accuracy.
Tools to use:
Linear gradients to soften horizons
Radial gradients to create glow around the sun
Color range masks to isolate warm or cool tones
Dehaze (negative) to add painterly softness
Goal
Create a gentle, luminous base that feels like a painting even before the generative step.
4. Move Into the Digital Impressionist Stage
This is where your signature Bandon Impressions style emerges.
What to emphasize:
Brushstroke‑like textures
Soft edges
Color harmony
Atmospheric depth
Techniques:
Use generative tools to introduce painterly strokes
Guide the tool with prompts referencing:
“soft impressionist brushwork”
“Monet‑style color transitions”
“Van Gogh texture and movement”
Maintain the original composition — never distort the coastline
5. Perform the Final Artistic Pass
This step is essential — it’s where your personal style comes through.
Final refinements:
Color balance: unify warm/cool tones
Contrast sculpting: deepen shadows subtly
Edge refinement: soften or sharpen selectively
Texture blending: ensure painterly strokes feel cohesive
Vignette: extremely subtle, if at all
Why this matters
Generative tools create the strokes, but you create the art. This pass ensures the piece feels intentional, cohesive, and true to the Bandon Impressions aesthetic.
6. Prepare for Print
Your collectors expect quality — and your workflow supports it.
Print prep steps:
Export at maximum resolution
Use a wide‑gamut color space (ProPhoto or Adobe RGB)
Add slight sharpening for print
Soft‑proof for your chosen paper type
Ensure color depth for large‑format prints
7. Impressionist Editing Tips for Coastal Scenes
Fog is your friend — it creates natural softness
Long exposures produce painterly water
Reflections mimic brushstrokes
Pastel skies create natural impressionist palettes
Storm clearing light adds drama and movement
Conclusion
Impressionist editing is not about making a photo look like a painting — it’s about capturing the emotion of the moment and translating it into color, texture, and atmosphere. With the right workflow, the Oregon coast becomes a living canvas, and each image becomes an impression of light, memory, and place.